
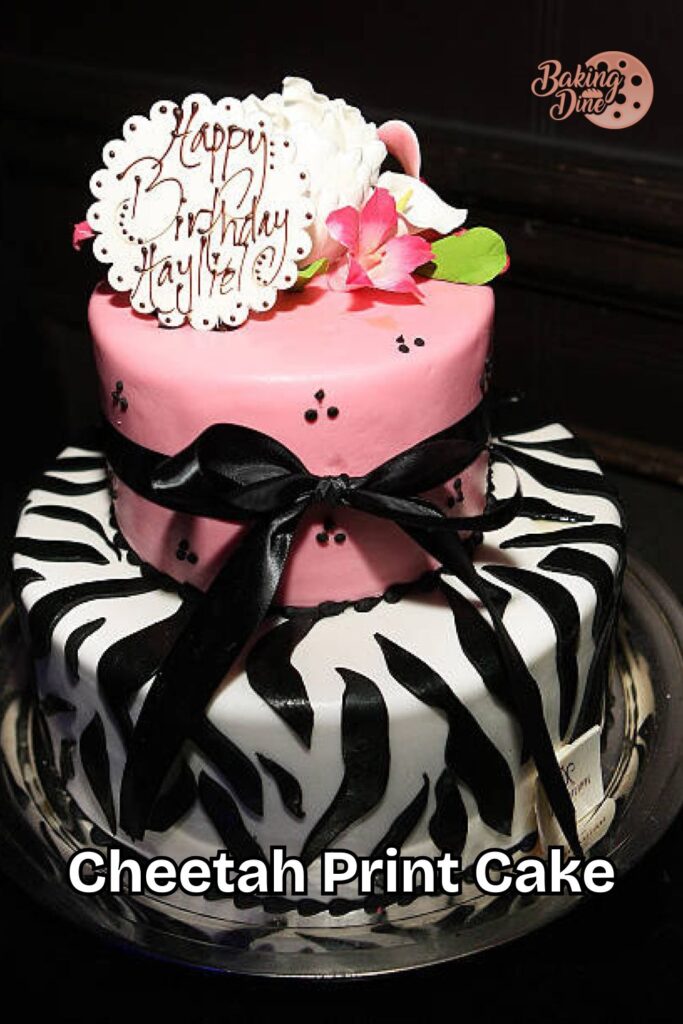
My niece asked for a cheetah print cake two birthdays ago and I said yes before thinking it through. Turns out the print is far more forgiving than it looks. Real cheetah spots are uneven, so every mistake reads as authentic.
This is a plain vanilla layer cake under tan buttercream, with the spots piped on by hand. No fondant, no stencils, and no airbrush. If you can pipe a blob and draw a broken circle around it, you can do this one.
Further down you’ll find the leopard version, which is not the same pattern at all. Birthday styling and a few other animal prints follow, all built on the same two-bag method.
Why You’ll Love This Cake
The print hides flaws rather than showing them off. A lumpy crumb coat disappears under a covering of spots, which is the opposite of what happens with smooth minimalist cakes.
You need one small round piping tip and two colors of buttercream. That’s genuinely it. No specialist kit, no chocolate tempering, and nothing that has to be ordered in advance from a cake shop.
It also scales. The same spots work on cupcakes, a sheet cake, or a six-inch round, so you can match a cheetah print cake and cupcakes for the same party without changing technique.
Cheetah Print Cake Ingredients & Substitutions
Any sturdy vanilla or chocolate cake works underneath this. What really matters is the buttercream, because it has to crust slightly so you can smooth the spots later without smearing the whole pattern.
| Ingredients | Amount | Substitution or Note |
| All-purpose flour | 2½ cups (313 g) | Cake flour for a finer crumb |
| Baking powder | 2½ teaspoons | Check it’s still active |
| Salt | ½ teaspoon | Fine sea salt |
| Unsalted butter | ¾ cup (170 g), softened | Room temperature, not melted |
| Granulated sugar | 1¾ cups (350 g) | Don’t reduce it |
| Large eggs | 4 | Room temperature |
| Whole milk | 1 cup (240 ml) | Buttermilk for a softer crumb |
| Vanilla extract | 1 tablespoon | Clear vanilla keeps frosting white |
| Butter for frosting | 1½ cups (340 g) | Half shortening for a firmer crust |
| Powdered sugar | 6 cups (720 g) | Sift it, or the tip clogs |
| Milk or cream | 3 to 4 tablespoons | Add slowly |
| Gel food coloring | Tan, brown, black | Gel only, never liquid |
- Gel coloring keeps the frosting thick. Liquid color loosens it, and loose buttercream won’t hold a spot shape.
- A crusting buttercream is the real trick. Swapping half the butter for shortening gives you a thin crust you can smooth with a paper towel.
- Clear vanilla matters if you want a pale tan base. Regular extract tints the frosting a shade darker.
- Chill the frosted cake before piping. Cold buttercream takes the spots without dragging.
How To Make a Cheetah Print Cake
Step 1: Bake and Cool the Layers
- Heat the oven to 350°F, grease two 8-inch pans, and line them with parchment.
- Cream the butter and sugar 3 minutes, add the eggs one at a time, then alternate flour and milk.
- Bake 25 to 30 minutes, cool 10 minutes in the pans, then turn out and cool fully.
Step 2: Frost and Chill
- Stack and crumb coat the layers, then chill 20 minutes so the crumbs set.
- Tint most of the buttercream pale tan, cover the cake, and smooth the sides with a scraper.
- Chill again 20 minutes, since a cold surface stops the spots from smudging.
Step 3: Pipe the Inner Spots
- Tint a cup of buttercream mid-brown and fit a bag with a small round tip, like a Wilton 3.
- Pipe irregular blobs across the cake, varying size and leaving uneven gaps.
- Keep them random. Rows and even spacing are what make a piped print look fake.
Step 4: Outline in Dark Brown
- Tint the last buttercream dark brown or black and fit a second bag with the same tip.
- Draw a broken ring around each blob, leaving part of the circle open rather than closing it.
- Add small dark dots in the empty spaces so the pattern reads as continuous.
Step 5: Smooth or Leave Raised
- Let the piping crust 10 minutes, then press gently with a smooth paper towel for a flat look.
- Or leave the spots raised, which gives the cake more texture under party lighting.
Leopard Print Cake
People use the two names interchangeably, but they aren’t the same animal. A leopard print cake uses rosettes, which are clusters of dark markings around a tan center, while a cheetah print cake uses solid spots.
How the Two Differ
- Cheetah: solid dark dots, evenly scattered, no lighter center inside them.
- Leopard: a tan center surrounded by a broken, jagged ring of dark brown.
- Leopard rosettes cluster in groups, so leave wider gaps between clusters.
The Acetate Shortcut
- Pipe tan squiggles onto a strip of acetate cut to your cake height, then outline them in dark brown.
- Chill the strip for 30 minutes until the buttercream sets firm.
- Spread your base color over the whole strip, wrap it around the chilled cake, and peel the acetate away.
This method gives sharper edges than freehand piping does. It’s also far easier to fix, since a bad spot can be scraped off the acetate long before anything touches the cake itself.
Leopard Birthday Cake
A leopard birthday cake needs one focal point, or the print ends up competing with itself. I keep the spots on the sides and leave the top simpler, usually just a ring of piped swirls.
Finishing Touches That Work
- A chocolate drip in dark brown or hot pink around the top edge.
- Fondant or acrylic number toppers, which stand up better than candles on a busy pattern.
- Gold sprinkles or edible pearls pressed along the bottom seam.
- Piped swirls around the top edge, spaced to leave room for candles.
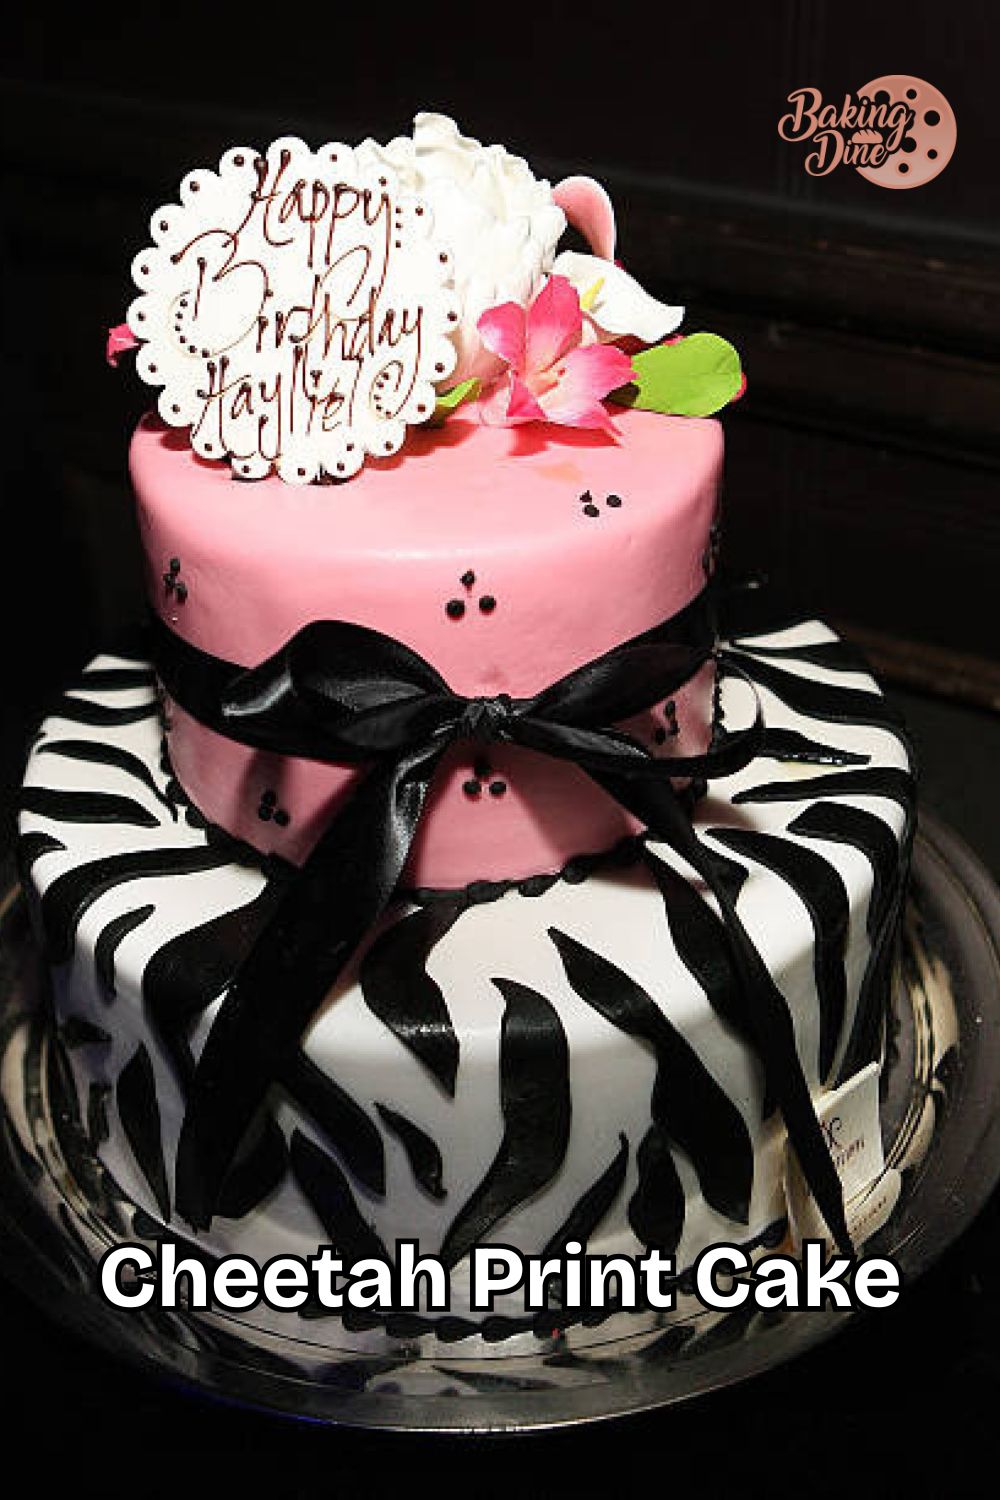
For a birthday cheetah print cake in a bolder palette, swap the tan for pink or neon yellow and keep the outlines black. Contrast is what makes the print readable across a room, not the color itself.
Size it by the guest list rather than the design. A two-layer 8-inch round cuts into 16 slices, which covers most parties, and the print takes no longer on a bigger cake.
Cheetah Print Cake Ideas
Most of my cheetah print cake ideas come down to changing the palette rather than the technique itself. Here’s what I’ve actually made over the years and what each one tends to suit.
| Idea | Palette | Best For |
| Classic tan and brown | Tan base, brown spots | Any age, safest choice |
| Red cheetah print cake | Red base, black spots | Bold adult birthdays |
| Pink and black | Blush base, black outlines | Kids and teens |
| Heart-shaped tin | Any two colors | Valentine’s or a small party |
| Matching cupcakes | Same colors, smaller spots | Feeding a bigger crowd |
A red cheetah print cake is the most striking of these, though red buttercream needs time. Tint it a few hours ahead and let it sit, because the color deepens as it rests and you’ll end up using far less gel.
For a cheetah print cake and cupcakes together, always pipe the cupcakes first. Your spacing improves with practice, and you want your steadiest work on the cake that everyone ends up photographing.
Pro Tips
- Practice on parchment before touching the cake. Ten spots is enough to find your pressure and spacing.
- Keep a toothpick handy. Dragging the edge of a fresh spot slightly gives it the blurred look real fur has.
- Work in sections and rotate the cake as you go, rather than piping all the tan first.
- Store the cake in the fridge and take it out an hour before serving to soften.
- A cheetah print cake travels badly in a warm car. Chill it hard before you leave, and carry it flat in a box rather than on a seat.
Wrapping Up
Start with the classic tan and brown if this is your first attempt. Once the pattern makes sense in your hands, the color swaps take no extra skill at all, only different gel.
The spots are meant to be uneven, which is the part most people fight against. Let them stay messy and the cake ends up looking more like fur, not less.
Cheetah Print Cake
Ingredients
Method
- Cream butter and sugar
- Add eggs
- Alternate flour and milk
- Bake at 350°F for 25-30 minutes
- Cool fully
- Pipe brown spots, then outline in dark brown